@21:01JST
Now, I’ll write the story about the title.
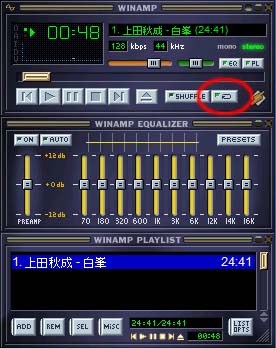
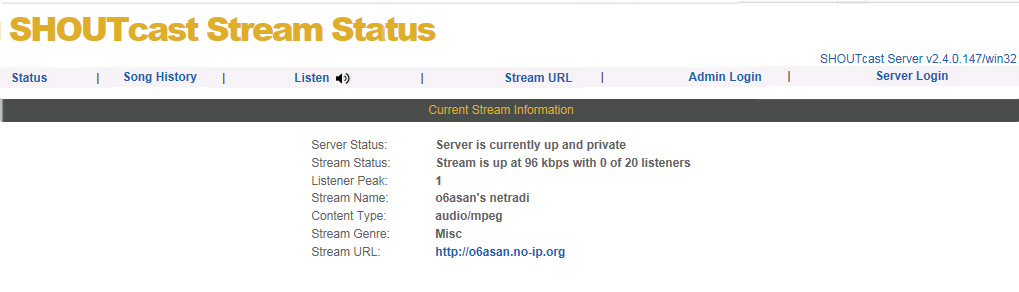
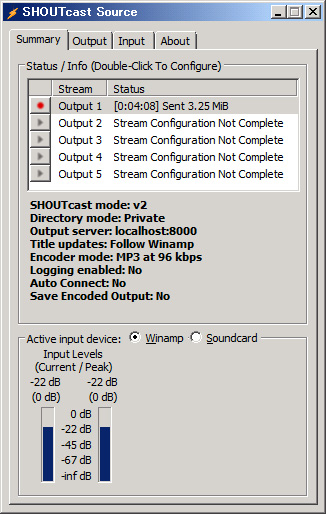
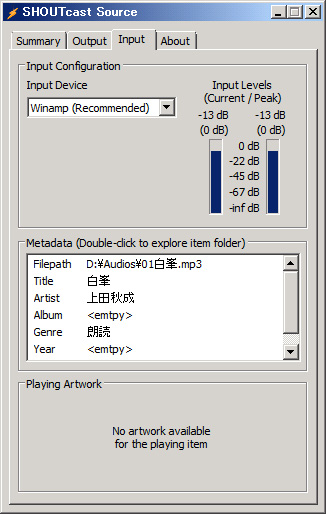
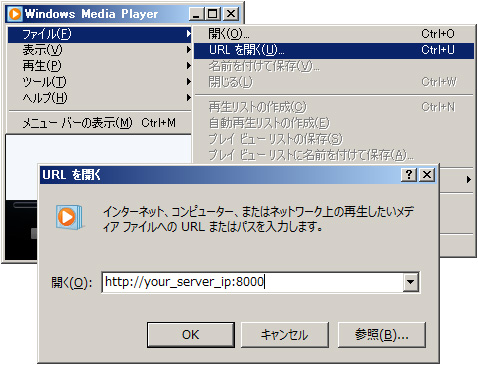
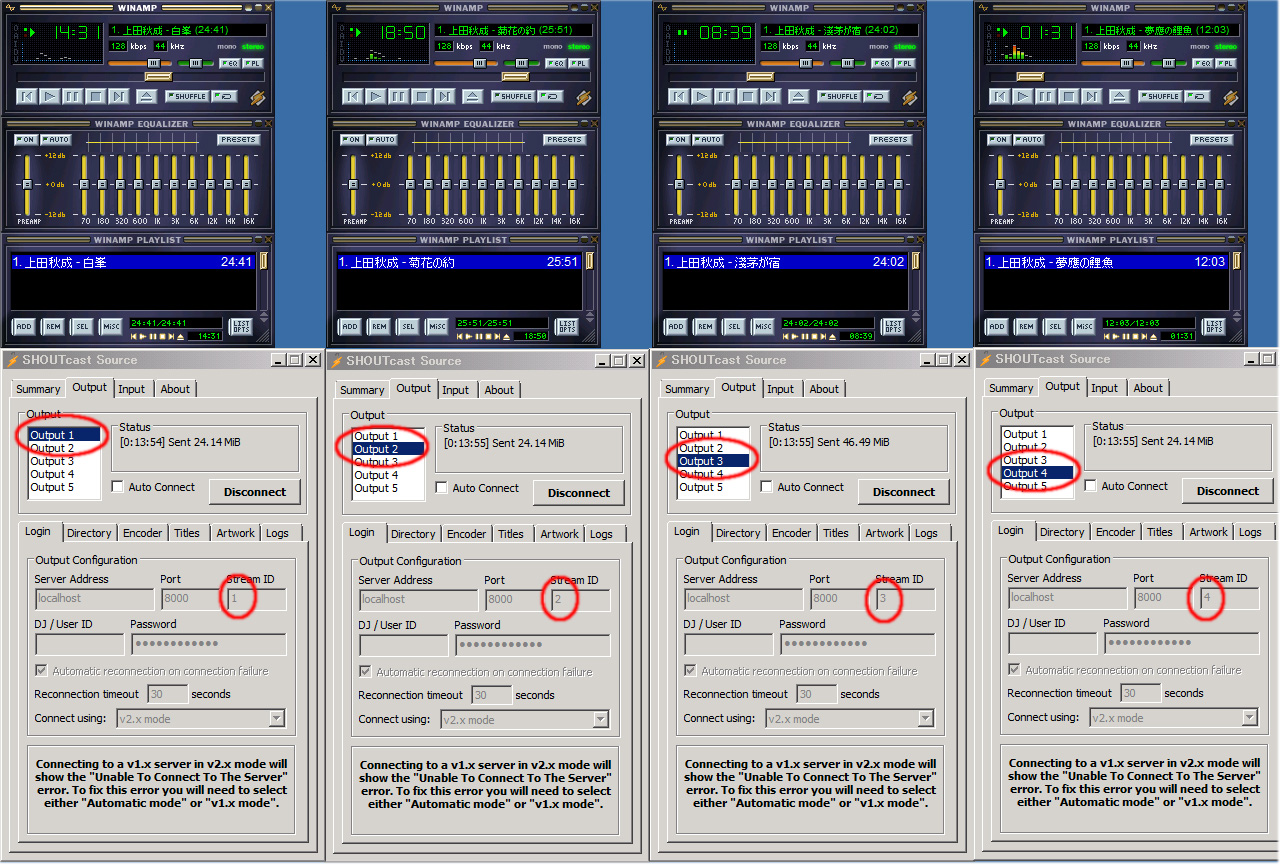
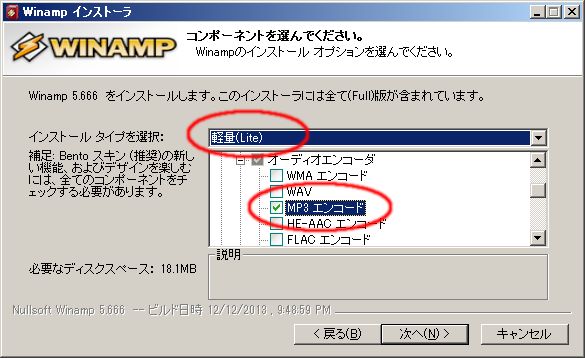
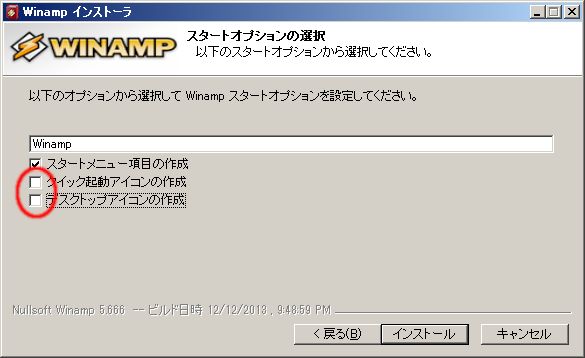
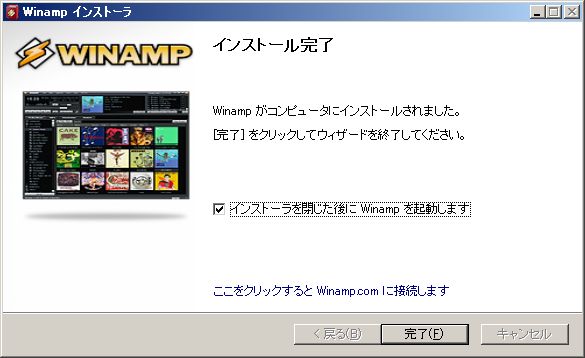
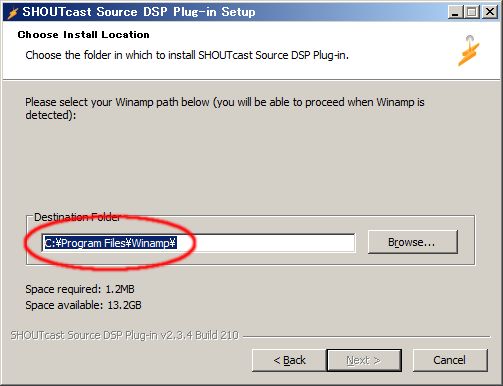
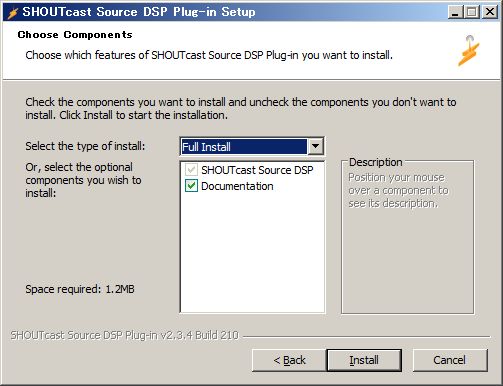
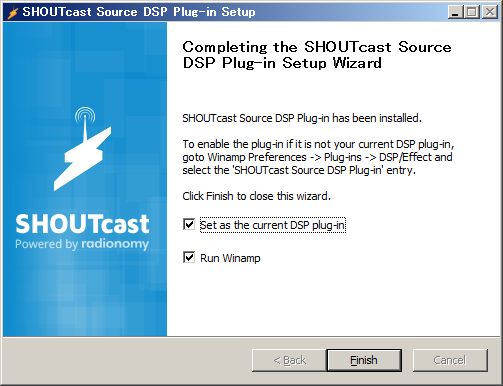
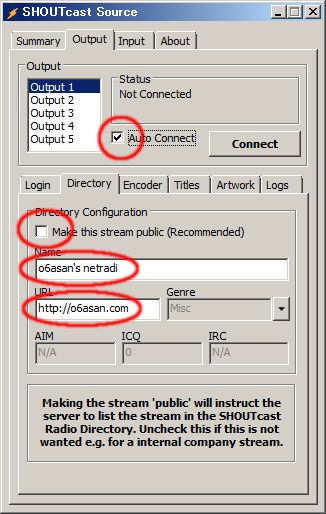
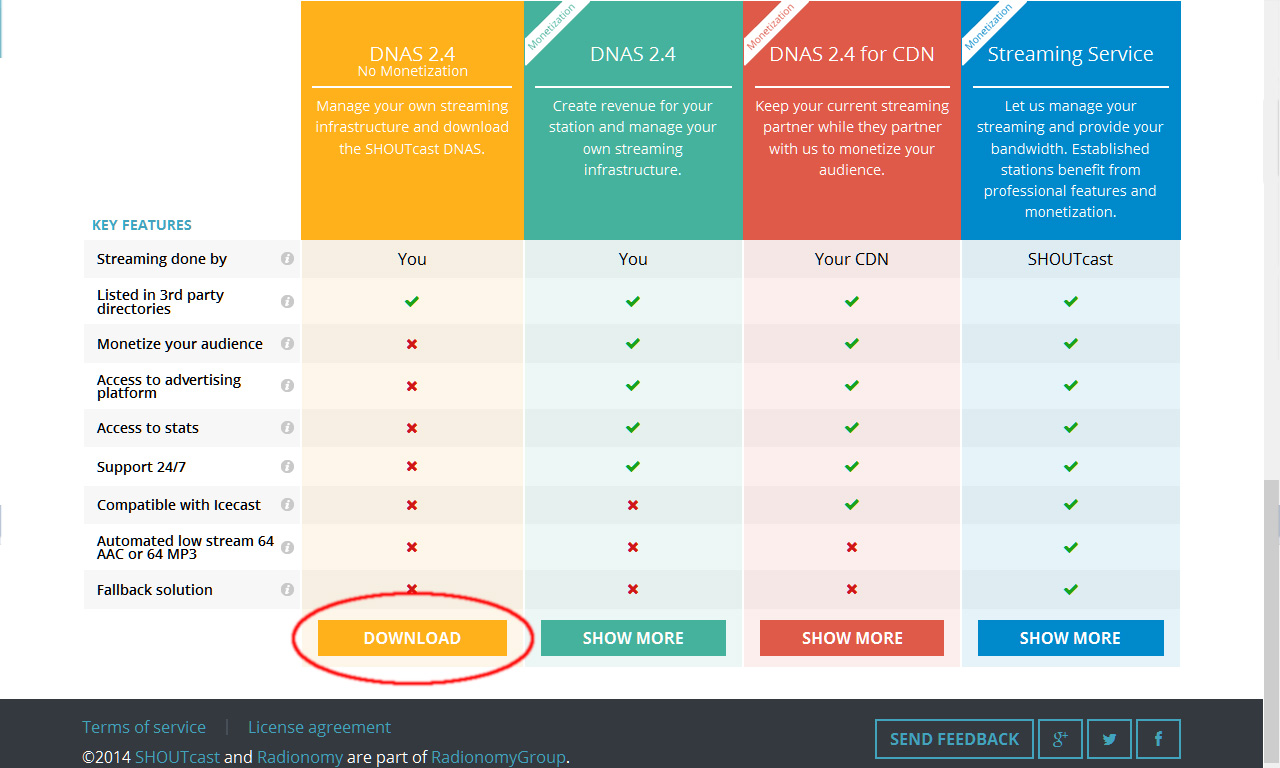
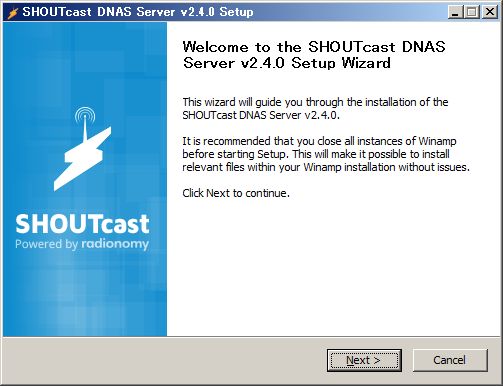
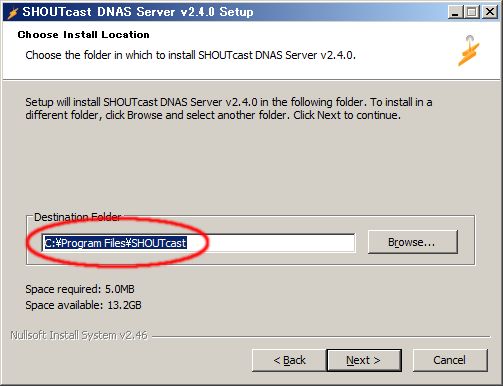
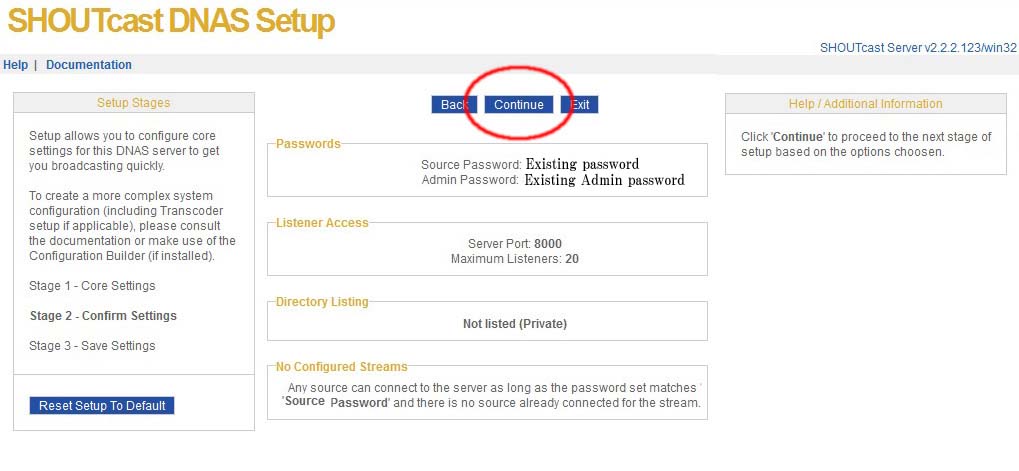
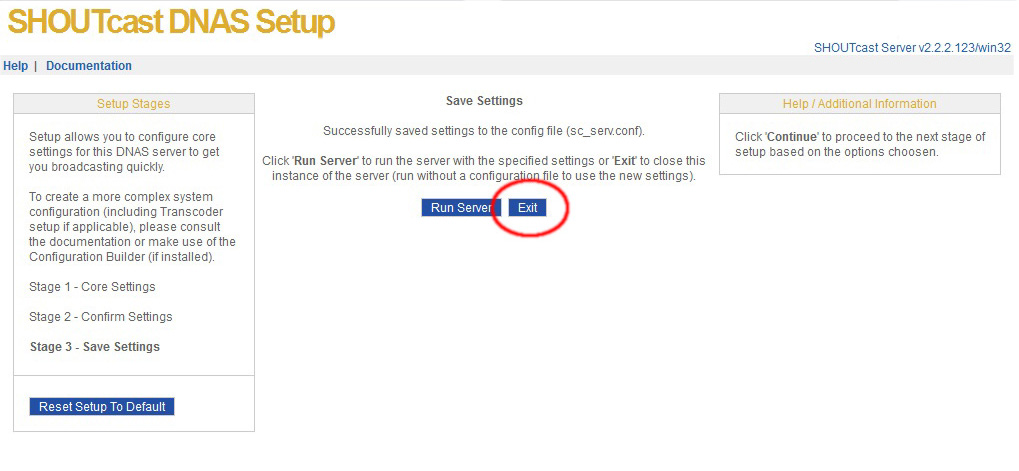
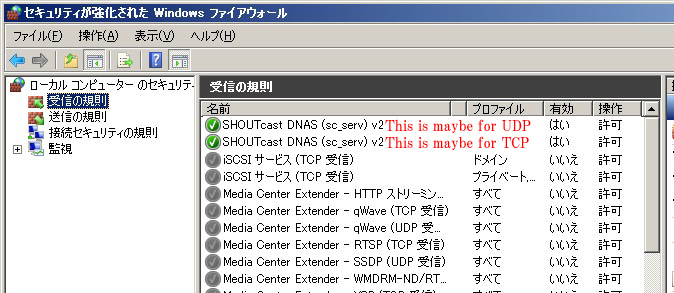
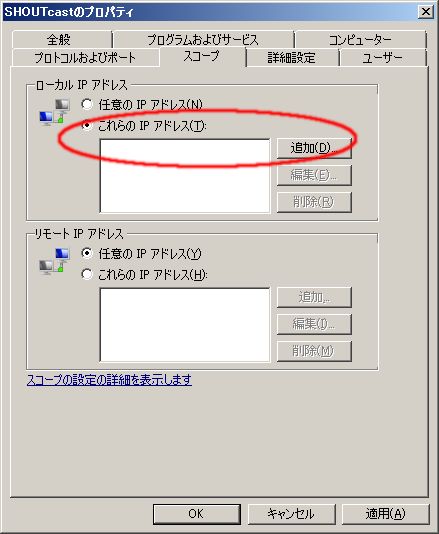
I tried a Puppy Linux (Precise-571JP) to use as a SHOUTcast server on a LOOX T93B. To talk about conclusions, I gave it up. I installed a Puppy Linux after a long interval. The last time I used a puppy whose version was 5.01 and English. At this time, I was very glad Precise-571JP is very easy to use. I think Puppy is one of good linux distributions. It is very light and doesn’t require high specs, nonetheless, the LOOX has too low specs.
Actually, though I could run a Shoutcast server and broadcast streams, I could never fix jumpiness even after stopping several services of Puppy’s default.
If you want to use Precise-571 as a mobile OS in a USB flash drive, I think it is very good.

Edit(Oct.10):
Ooops! I understood that the star above was not Uranus. I checked it up by StellaNavigator 10. It’s an amazing software though I used a trial version.
Categories
Puppy Linux (Precise-571JP)
Update information Edit(Oct.10)