It was on 2011 October 13 that I wrote the first article about Net Radio. One of my Japanese blog visitors consulted with me as to begin a net radio station, so I learned and created my private net radio station(It doesn’t exist anymore – 2016.Jun.1) though I didn’t know anything about it at the time. The station was only for me and the situation is the same still now. Anyway I have a net radio station and am using SHOUTcast DNAS for it.
Last year AOL decided to sell SHOUTcast and Winamp and Radionomy bought SHOUTcast on 2014 January 14. Hence, I will write a new article about SHOUTcast private radio. Shall I start?
| ||How to create a SHOUTcast server|| | ||
| 1. Download 4. Install as a Service |
2. Install 5. Firewall |
3. Setup 6. Login test |
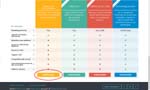
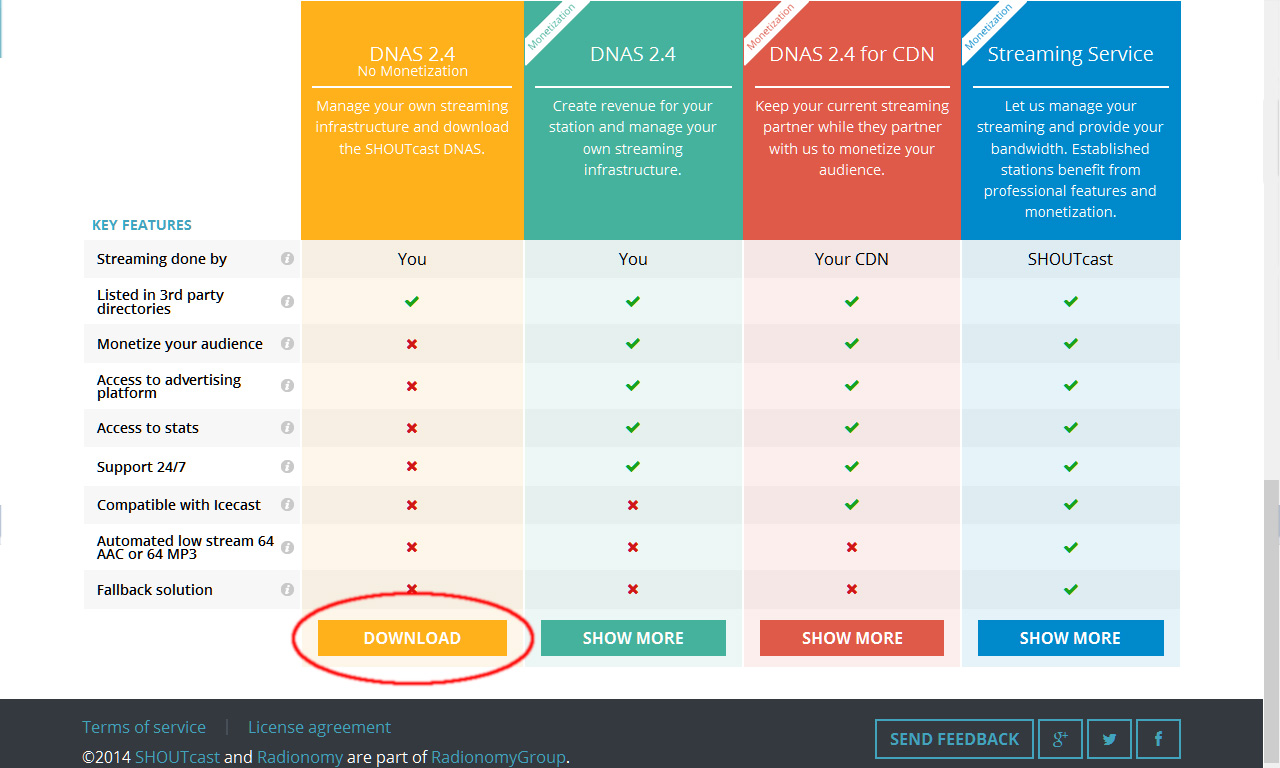
- Download SHOUTcast DNAS from here. Even if you want free version of SHOUTcast DNAS software, to download the files from the official site you need a personal data registration now, like this. (2016.Jun.1) Click ‘DOWNLOAD’ then you can see the links for download.
SHOUTcast download#1 
SHOUTcast download#2 About SHOUTcast DNAS, you have to download a correct version. In my case, I downloaded sc_serv2_win32_xx_xx_xxxx.exe.
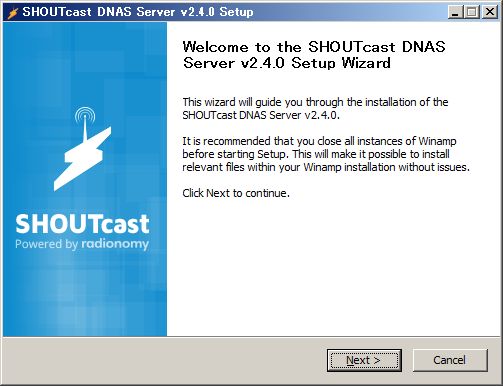
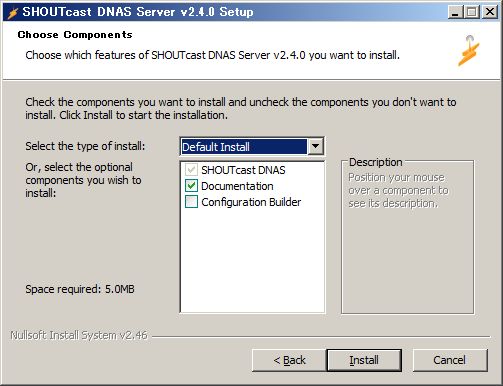
- Install sc_serv2_win32_xx_xx_xxxx.exe
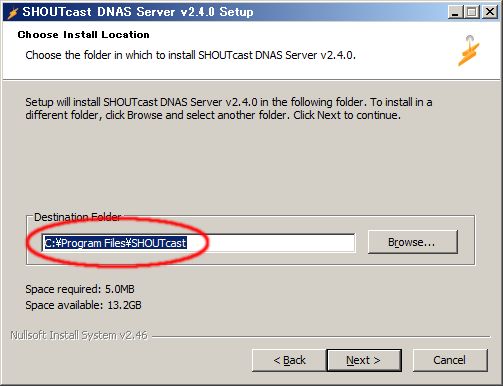
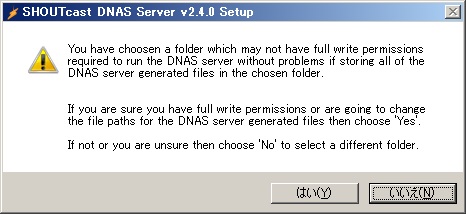
If you install DNAS to the default folder, you have the message of ‘SHOUTcast install#4’ image. In most cases you’d better click ‘No’ and change the install folder from the default, for example D:SHOUTcast.
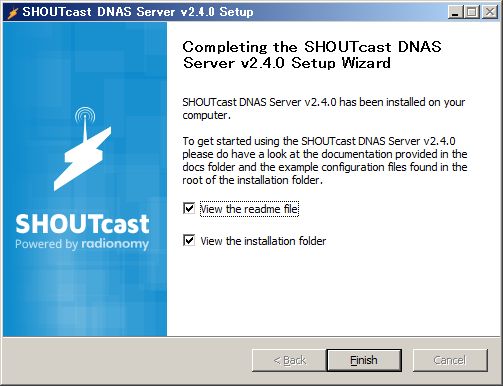
When you click ‘Finish’, SHOUTcast shows you ‘Readme_DNAS_Server.html’ by your browser. So, read ‘Getting Started’ first.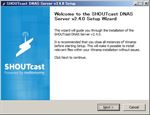
SHOUTcast install#1 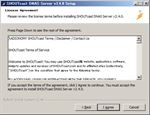
SHOUTcast install#2 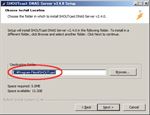
SHOUTcast install#3 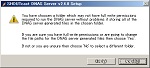
SHOUTcast install#4 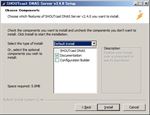
SHOUTcast install#5 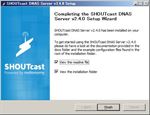
SHOUTcast install#6 - Setup SHOUTcast DNAS Server.
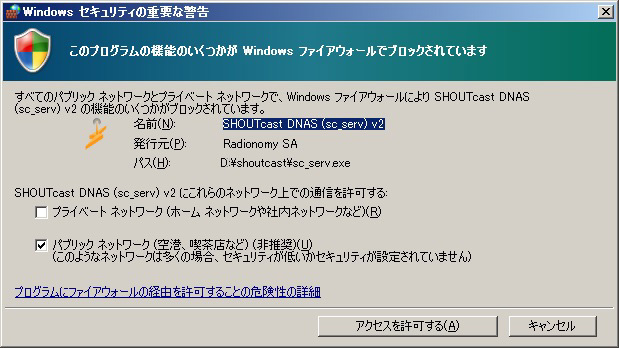
You have a Windows Security Alert about SHOUTcast DNAS, then allow access about public networks only (See fig. SHOUTcast setup#1). I don’t have exact knowledge about Public, Private and Domain settings, but I feel better that to allow access is only for Public as I read Understanding Firewall Profiles.
Run cmd.exe as Administrator and move to SHOUTcast folder which includes ‘setup.bat’.
Run setup.bat on cmd.
> setup.bat
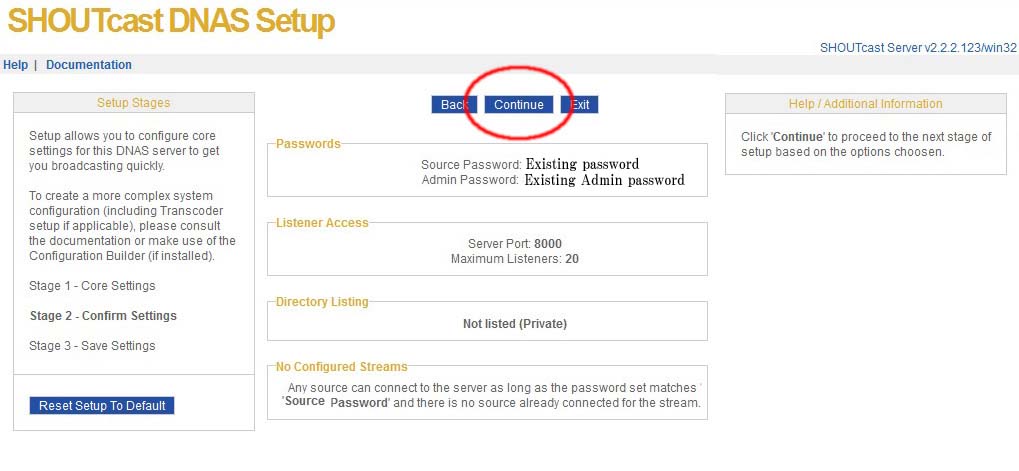
You have a setup page on your browser like the followings (See figs. SHOUTcast setup#2 ~ #4):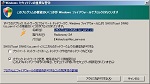
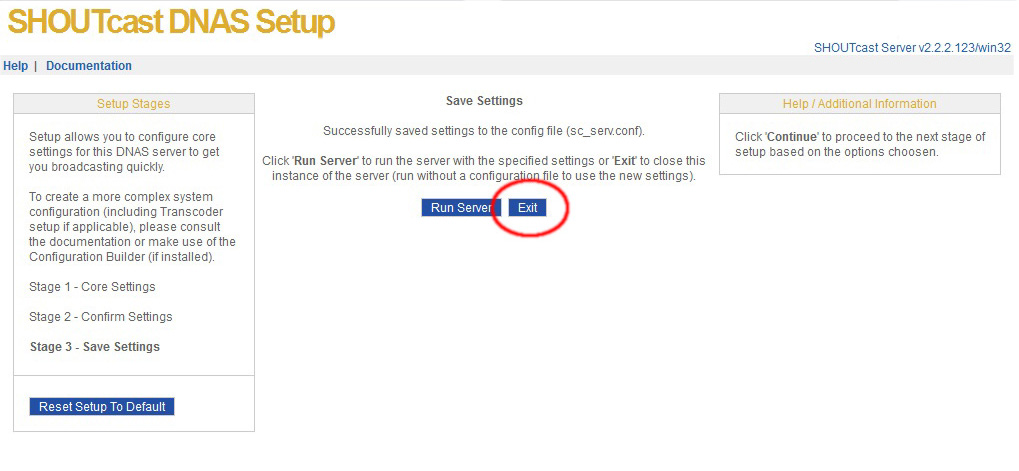
SHOUTcast DNAS setup#1 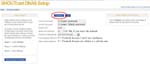
SHOUTcast DNAS setup#2 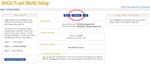
SHOUTcast DNAS setup#3 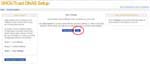
SHOUTcast DNAS setup#4 See the above images and do the settings.
Close your browser.
Now you have a conf file named ‘sc_serv.conf’ in the SHOUTcast folder. This is the default conf for the server.The text of sc_serv.conf:
adminpassword=(your existing adminpassword)Because the current server is private.
autoauthhash=0
maxuser=20If the default value, it’s maybe OK.
password=(your existing password)

publicserver=never

streamid_1=1
Here are the passwords. The passwords themselves are clear text. For security purposes, I STRONGLY recommend that you don’t use passwords that are used to access critical system components or other sensitive information. Make these as random as possible, with a combination of letters, numbers and symbols. - Install as a Service
Service setting
On the cmd:
> sc_serv.exe install sc_serv
Close the cmd.exe.
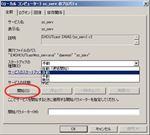
‘Control Panel’ >> ‘Administrative Tools’ >> ‘Services’
Select sc_serv and change its startup type value to ‘Automatic’. Click ‘Start’ and ‘OK’.
If you need more information, see ‘DNAS_Server.html#Install_as_a_Service’ in the SHOUTcastdocs. - Setting firewall for SHOUTcast DNAS.
‘Control Panel’ >> ‘Administrative Tools’ >> ‘Windows Firewall with Advanced Security’
Select ‘Inbound Rules’.
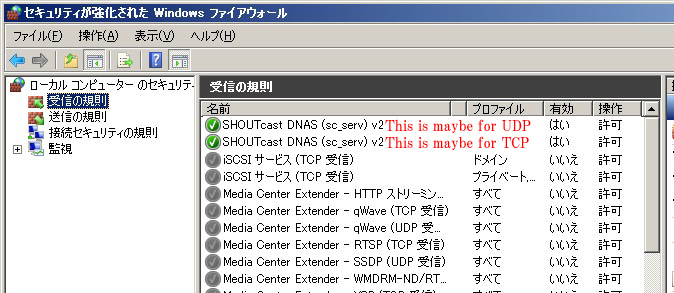
You see two rules about SHOUTcast DNAS (sc_serv) v2 that has public profile, if your step was normally done at ‘SHOUTcast setup#1’. One is for UDP and another is for TCP. You don’t need to open UDP ports, so delete the UDP rule. (See figs. Firewall settings#1 & #2)
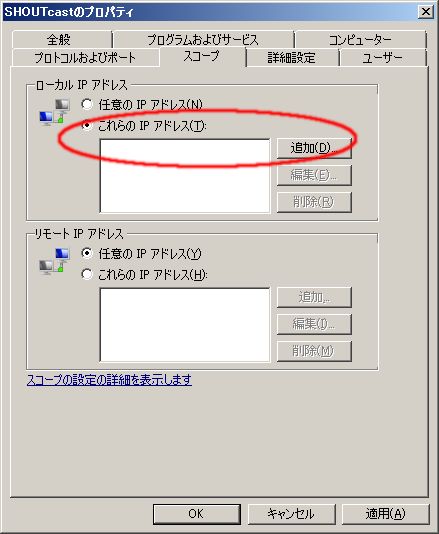
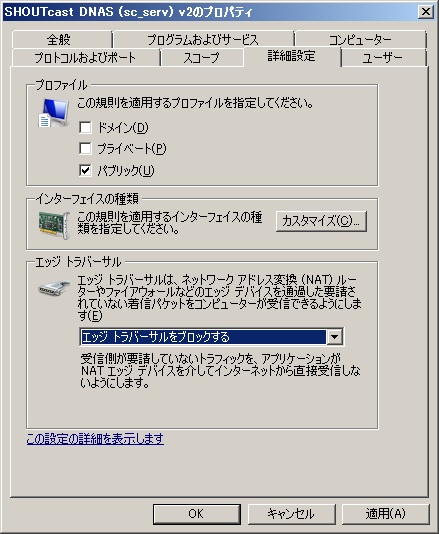
Change the following values about TCP rule (See figs. Specific Ports 8000 ~ Advanced, Block edge traversal):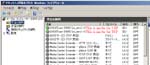
Firewall settings#1 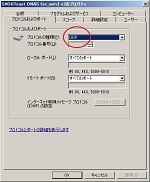
Firewall settings#2 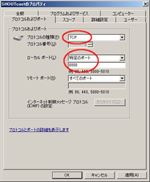
Specific Ports 8000 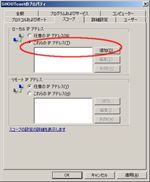
Scope, These IP addresses: 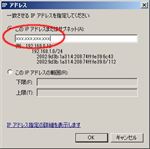
Add the server local address. 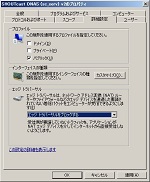
Advanced, Block edge traversal Click ‘OK’.
- Login test.
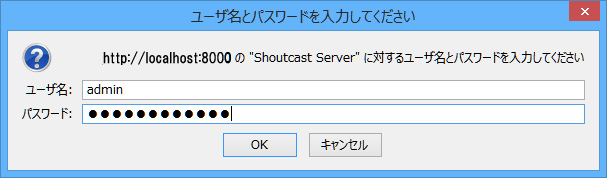
You can log in the server by your adminpassword.
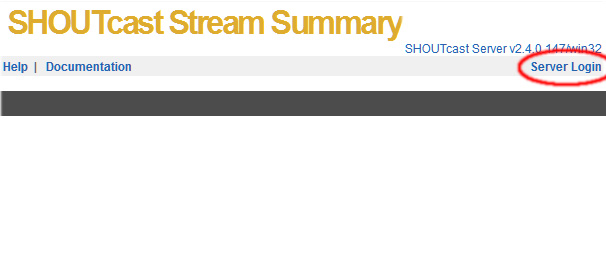
Access http://your_server_ip:8000 (the default: http://localhost:8000), then you’ll have ‘SHOUTcast Server Summary’ by the browser.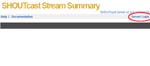
Login test#1 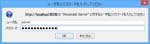
Login test#2 
Login test#3


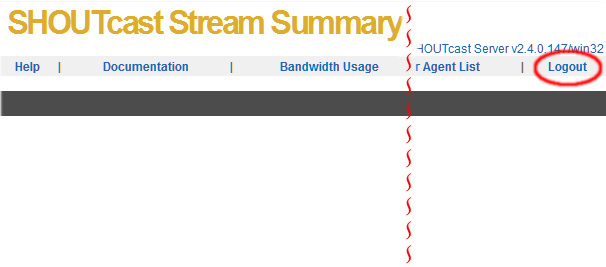
To create a SHOUTcast server is complete!! The next post I will write the installations about Winamp and SHOUTcast DSP.