Of course, I actualy found it when I logged in my admin panel in the morning he-he. Last night I re-created the SSL things and re-patched Oiram’s workaround to the ca-bundle.crt, so I slightly worry about the update of WordPress, but I have no problem at this time. Happy!
Edit(Apr.15):
My talk on this post is repugnant to “A subsequent update: WordPress 3.8.3”. The version.php had no $wp_local_package = ‘your_localize_code’ but gave no problem. Ummm.
It is built with ‘IPv6 Crypto apr-1.5.0 apr-util-1.5.3 apr-iconv-1.2.1 openssl-1.0.1g zlib-1.2.8 pcre-8.34 libxml2-2.9.1 lua-5.1.5 expat-2.1.0′. Its Changelog.
I really appreciate Steffen’s hard and quick work. Thanks again, Steffen.
Edit(May.13):
This vulnerability also has effects on everyday life as I’ve worried about. Some OS of smartphones might have the vulnerability. I’ve found the list out. ⇒ The list of Android phones vulnerable to Heartbleed bug
And you can check your smartphone OS about the vulnerability by the Heartbleed Detector App.
I add three sites about Heartbleed detector you can access by a PC. Heartbleed test heartbleed test
Trend Micro Heartbleed Detector (does not exist anymore.)
In the early morning on Mar. 14, my mission complete and very very glad, then I watched a lot of videos on my KeyPaso with the FUJITSU 30 pin display. Two days later, i.e. on Mar.16, I heard a strange sound from the KeyPaso when I watched a video and suddenly got bad pictures on the display. What happened? (≧o≦)
Finally I found out the video card broke. 。゚・(≧o≦)・゚。 。゚・(≧o≦)・゚。
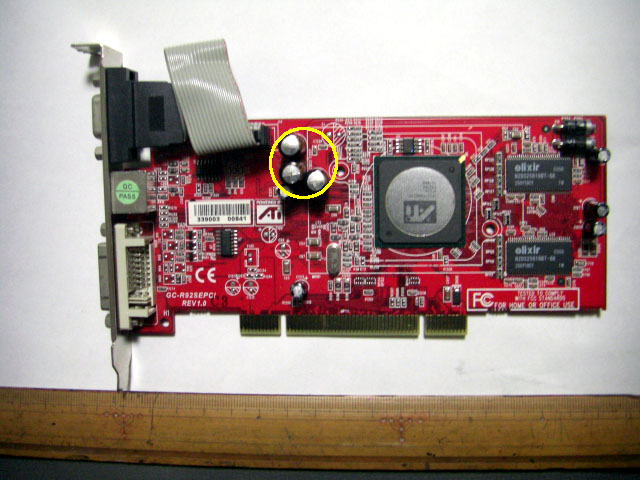
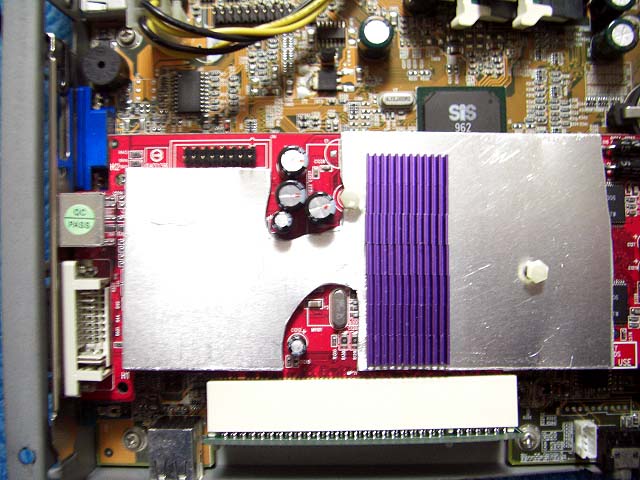
I talked to FHさん on his BBS again. This time juneさん also helped me. The two, from the outset, said the top of the capacitors slightly expanded when they saw the photo(Fig.01). But I didn’t agree with them because of my newbie idiot head (^_^;). That made me go a long way round. Grrrrr.
My first act was to get a GX-6200 at the Yahoo Auction. It was on Mar.18 and I had the GX-6200 on Mar. 22.
While I waited the GX-6200, I found my video card had no heatsink. The GX-6200 has a full-sized heatsink, so I thought I had to remove the heatsink from the new card if I had it at that time. But after having the GX-6200 and talking about it on the FHさん’s BBS, I realized the problem was not only the heatsink. The KeyPaso chassis is very small. Though I removed the heatsink from the GX-6200, the capacitors and other things had still stuck and I was not able to close the KeyPaso chassis. I think my old Radeon 9200 SE PCI is an OEM product for KeyPaso. Because the Radeon 9200 SE PCI cards without a heatsink I found on the Internet do not look to be loadable to the KeyPaso.
FHさん suggested to me that I removed the capacitors and other things and re-installed them to the other side of the video card. But I hesitated because I had no confidence about my skill. With my hesitation I surfed the Internet and saw a lot of capacitor images, and then I suddenly understood FHさん and juneさん were correct about the capacitor expansion. Hereon it was also clear for me. So, I began to think about the replacement of the three capacitors on the old video card. The three capacitors were all 1000μF, 6.3V.
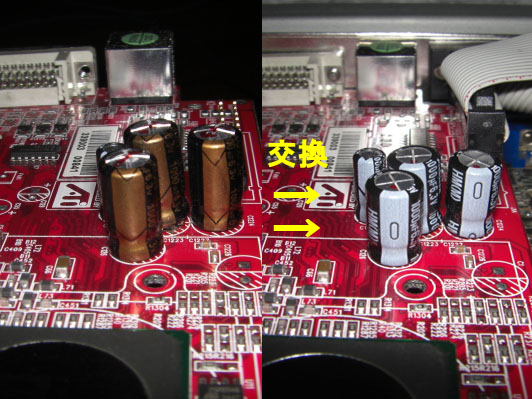
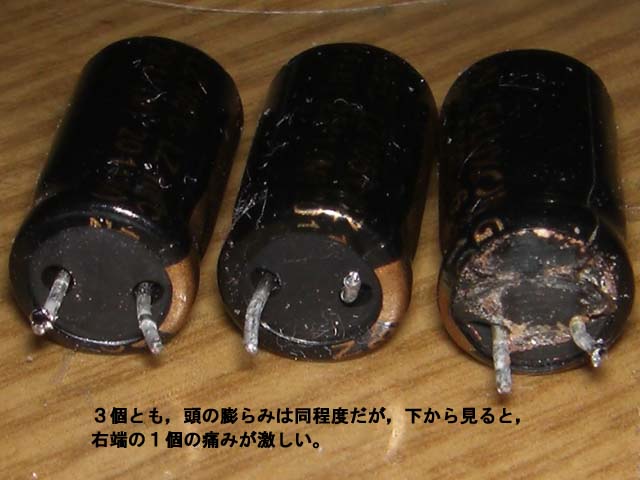
Fig.02 Replaced capacitors Before trying FHさん’s suggestion, I wanted to replace the capacitors on the Radeon 9200 SE PCI. Because this work became a practice for me even if I failed it. But there was a big problem. I could not find real stores which sold capacitors near my residence. Oops!! It was already late at night when I thought of a way to get capacitors. I pulled out the old broken FMVH70K7V from the closet, and took it apart. I found capacitors I needed there and replaced them. After this, I re-installed the old Radeon 9200 SE PCI to the KeyPaso and checked it out. It worked well. Wow!!Fig.03 Damaged capacitors
By the way, the old capacitors were very damaged(Fig.03).
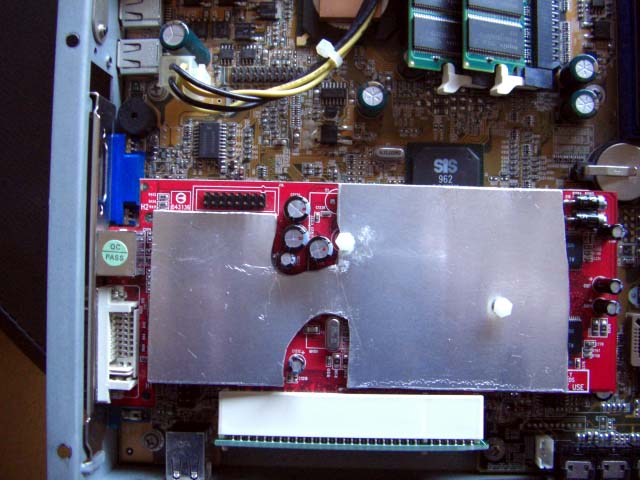
Fug.04 My original heatsink Another problem still remained, it was the heatsink. Originally, the old Radeon 9200 SE PCI had no heatsink. But it is needed. Or my KeyPaso will have the same trouble sometime soon. However I could not use normal heatsinks I have for it because all of them got stuck in the KeyPaso chassis. FHさん suggested to me that I made an original heatsink of an aluminum sheet. I got an aluminum sheet sized 300 x 100 x 1.5mm and shaped a heatsink like the Fig.04. Very cluuuuuuuuuuumsy ha-ha-ha.Fig.05 Before and after
I installed this heatsink with thermal compound and double-sided tape as spacers on the Radeon 9200 SE. Here is a data sheet before and after(Fig.05). I don’t know this data is correct or not because the software told different results each time when I checked them out.
We used the software on other PCs. After that, juneさん told me that he thought the software (HWMonitor) could not differentiate sensors though it could recognize them. But we don’t think the measured values have no relation with the real values (^_^;). If the KeyPaso is a desktop PC, I can feel its temperatures with my hand directly, but in this case couldn’t. So, I gave up about this. juneさん was kind enough to give me simple heatsinks, so I installed them on the Radeon 9200 SE(Fig.06).Fig.06 Simple heatsinks
The KeyPaso chassis is very small, so I worried about its airflow. I removed the hole cover, the hole exists the left side of the KeyPaso for installing a CD device instead of a PCI Expansion Card. Also, I am slightly anxious about dust though. That is just to console myself (^_^;).
By the way, here is the reprint(Japanese) of a part of FHさん’s BBS again, which appears his courtesy.
Anyway, mission complete. Is it OK I believe it? Well, the KeyPaso works well now.
The php.ini-production has nothing changed. As the official PHP binary includes php5apache2_4.dll, I extract the zip archive and replace all PHP5.5.10 files with all PHP5.5.11 files except my php.ini. Then, I restart my Apache. That’s it.
If you need how to configure PHP5.5, please see the post. It is for a mbstrings user, but the information gives some help for you.
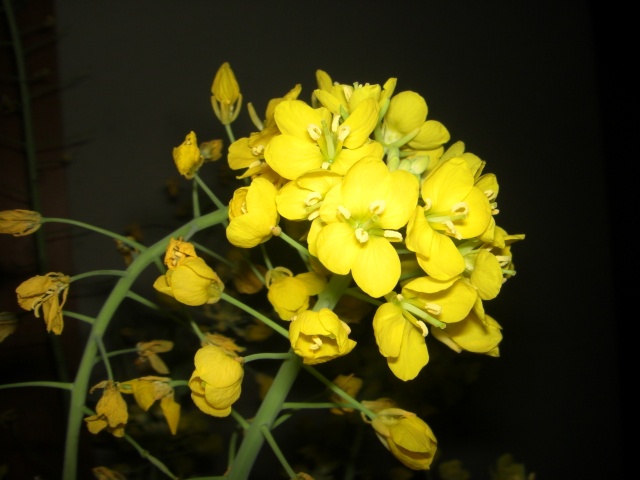
Magenegi Do you have had a chance to eat wakegi(分葱)? Wakegi is one of spring vegetables in Japan. A kind of onion but we usually eat green leaves instead of bulbs. I love one of wakegi dishes called Magenegi(まげ葱).
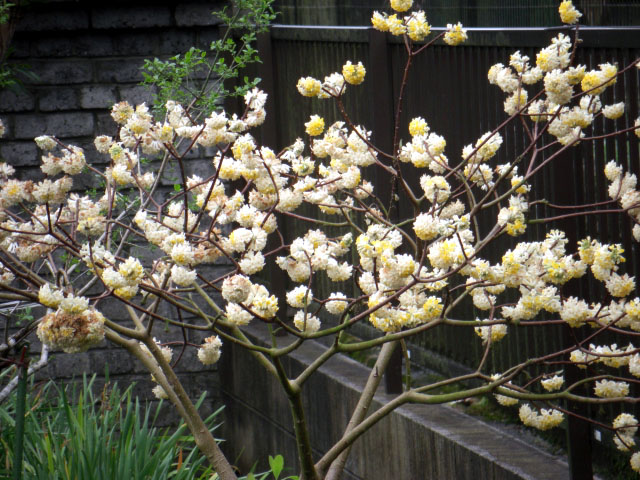
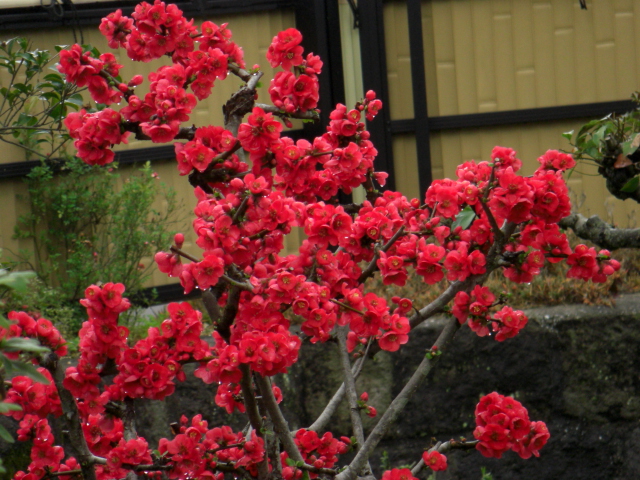
A cherry blossom. The declaration of flowering(開花宣言). For what? Of course, about cherry blossoms at my garden he-he-he. I’ll show you the photo. See the right image. Unfortunately, the photo does not have good color because it’s rainy today.
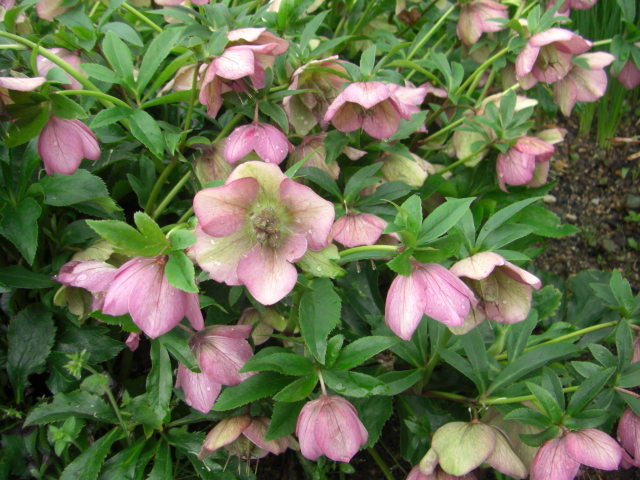
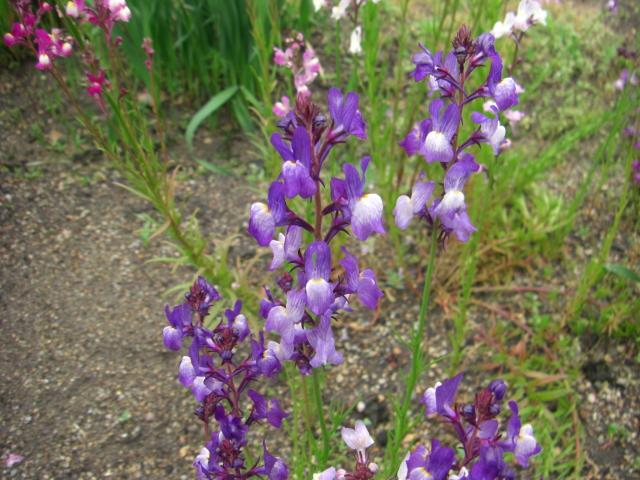
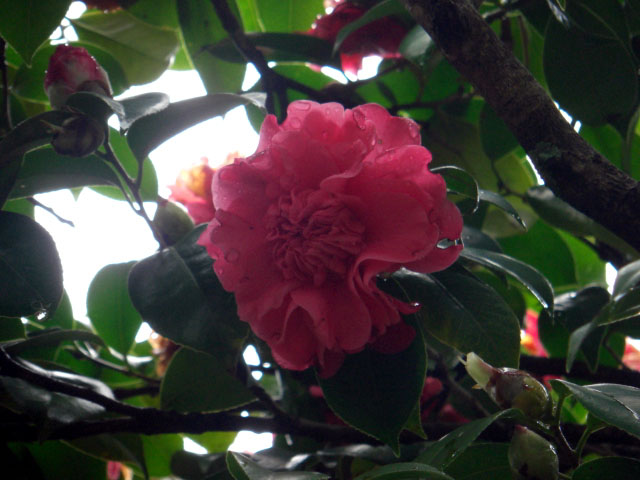
I also show you other photos of my garden flowers in the table.
Apache HTTP Server 2.4.9 was released, and they did not release 2.4.8 because of an issue about OpenSSL area. So we’d better think 2.4.9 includes the changes with 2.4.8.
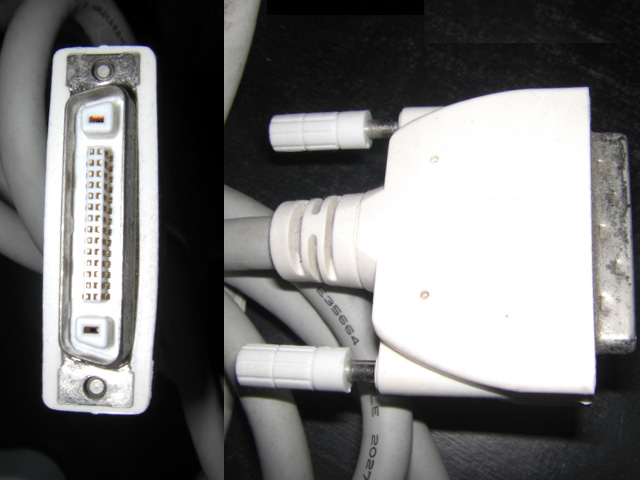
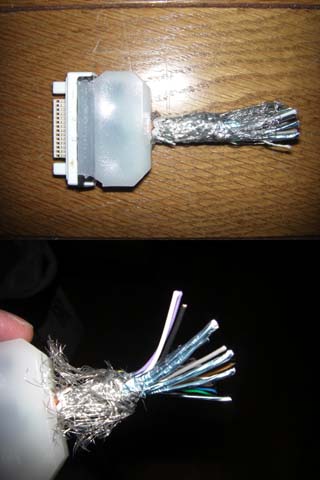
I have an FMVH70K7V and I got it as one of my uncle belongings. I used the PC as my web sever machine. It’s already broken but its display(VL-17VS2) is still alive. The display has very unique connector like the right image(Fig.1). Though I’d used the display to watch TV since Digital Terrestrial Television Broadcasting starting, I began to think I wanted it as a PC monitor after installing a Vista on the KeyPaso. At the time I couldn’t find any information about its pin assignment on the Internet.
They excited motivation in me but I got a cold after New Year holidays as you know, he-he. So my work about it began behind my plan. It was Jan. 16.
First I checked the cable of 30 pin connector by a circuit tester. Actually, the cable had 34 wires like as the left image(Fig.2), grrrr. To check the cable took more than one month, mainly my physical condition and probably to use a circuit tester was after a long time. Second I checked the DVI-D cable, which took only a day. Very short than to check the 30 pin connector.
When I was doing this, I talked to FHさん on his BBS. Here is the reprint(Japanese) of a part of his BBS related to my article, which appears his courtesy.
Connected each wire following the result. Used heat shrinkable tube as the technique to isolate each wire(Fig.3).
[Note1] FHさん is kind enough to show me how to use heat shrinkable tube.
[Note2] I also connected the wires about USB things, but my remote controller coming with FMVH70K7V did not work.
Fig.4
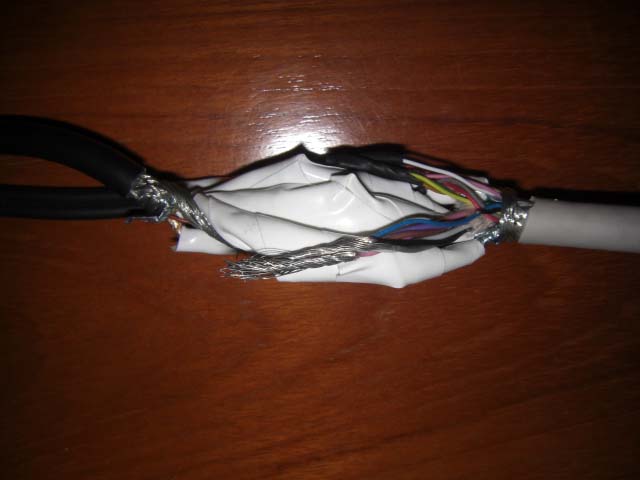
About the wires that have a metal shield originally, wrapped with a piece of aluminum foil for cooking and over-wrapped them in insulating tape(Fig.4).
Fig.5
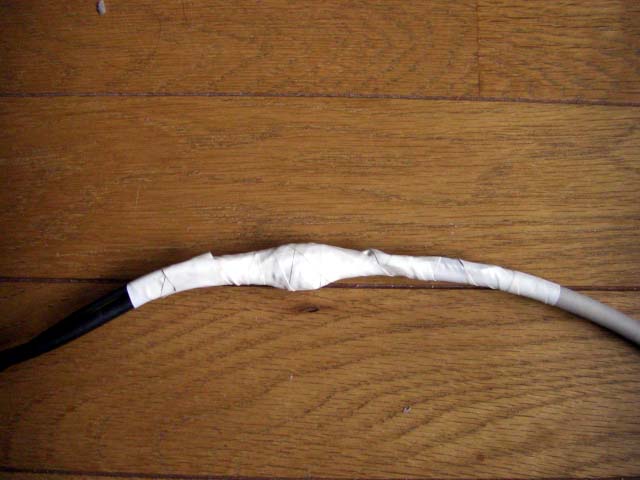
Wrapped all 34 wires and shield in insulating tape(Fig.5).
I have good images on the display.
Now, mission complete, I think. Buuuuuut, there is more to it (T_T).
Edit(Apr.7):
I forgot to write. I heard the cable with the display (VL-17VS2) is not straight. I checked the only PC-side assignment out, so it is not useful for you if you want to change the display-side connections.