I thought I’d done it, but actualy I hadn’t. I talk about what. It was “Removing OCSP URLs from certificates“. I read the article and thought I would have some time until its deadline. So, I just forgot it.
And so, I didn’t notice it until this month. It shows how slack I’m being on taking care of my server recently.
I quickly removed OCSP stapling with this Apache update. 💦
The laptop mentioned previous article successfully became 24H2. The touchpad was risen because the battery was swollen, so I couldn’t use it. This time, I replaced the battery and adjusted the position of the touchpad. So I can use it now. However, suddenly the mouse cursor stops working, and I have a BSoD. The stop code is DPC_WATCHDOG_VIOLATION. The same symptoms occur with a wired USB mouse, so I think it might be related to the driver. Though I tried dism and sfc, there were no problems.
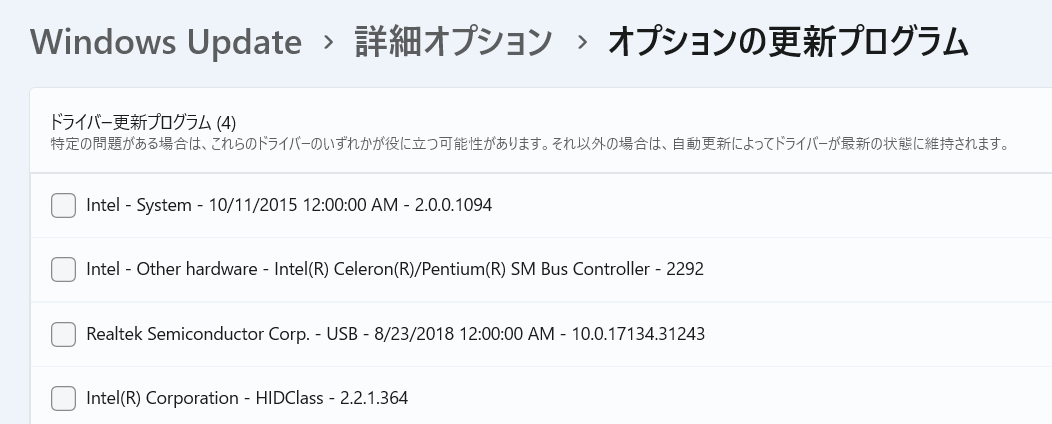
When I look in “Settings>>Windows Update>>Advanced Options>>Optional Updates”, I find the four updates in the image below. One of them is HID-related, and even after reading the program descriptions, I’m not sure if they are related. But I install all four anyway.
Since then I haven’t experienced any BSoDs. It means the result is certainly ok?
Now, enable Hyper-V and run the virtual machine.
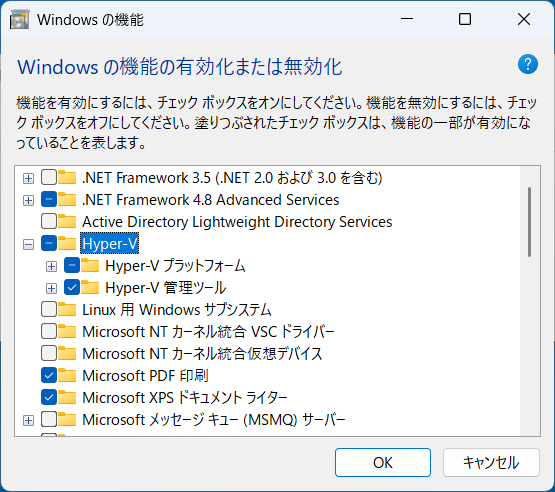
This laptop has Windows 11 PRO, so I can use Hyper-V if enabled. Go to “Control Panel >> Programs and Features >> Turn Windows features on or off”, check Hyper-V and click OK. Then follow the instructions on the screen and restart the laptop.
After rebooting, launch Hyper-V Manager and create a virtual machine. Go to “Right Pane >> Quick Create >> Virtual Machine” and made some decisions. I was planning to install the 32-bit version of Windows 7, so I chose the first generation.
Also I left the network configuration as not connected.
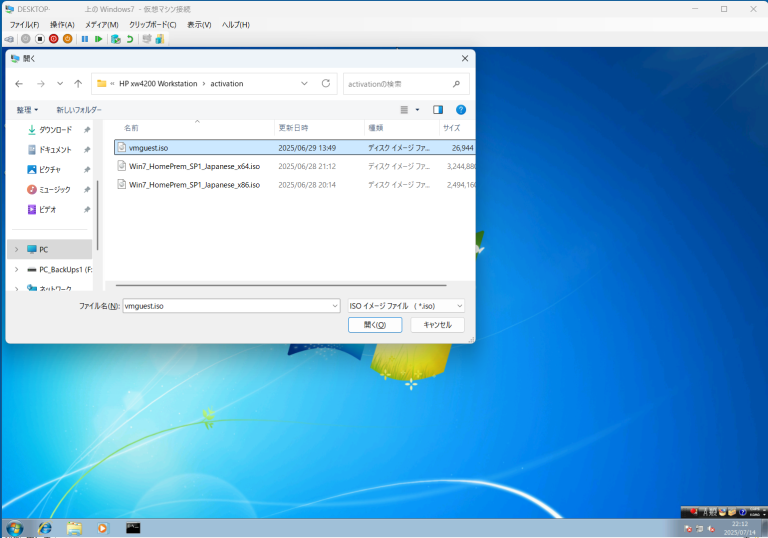
In the installation options, I specified the ISO file. I had to search all over for this ISO download. Windows 7 is no longer supported, so I can’t download the ISO from the Microsoft site, and I couldn’t get it from the archive.org link either.
I started it up and was surprised. The mouse cursor moves reversed up and down, though left and right are normal. On the internet I found, “if there are any disabled services in the list of integrated services, you can fix it by enabling them all”. But that didn’t work. I tried the method of using vmguest.iso from “Mouse vertical movement is reversed in Hyper-V for older OS’s” and it worked. Very impressed.
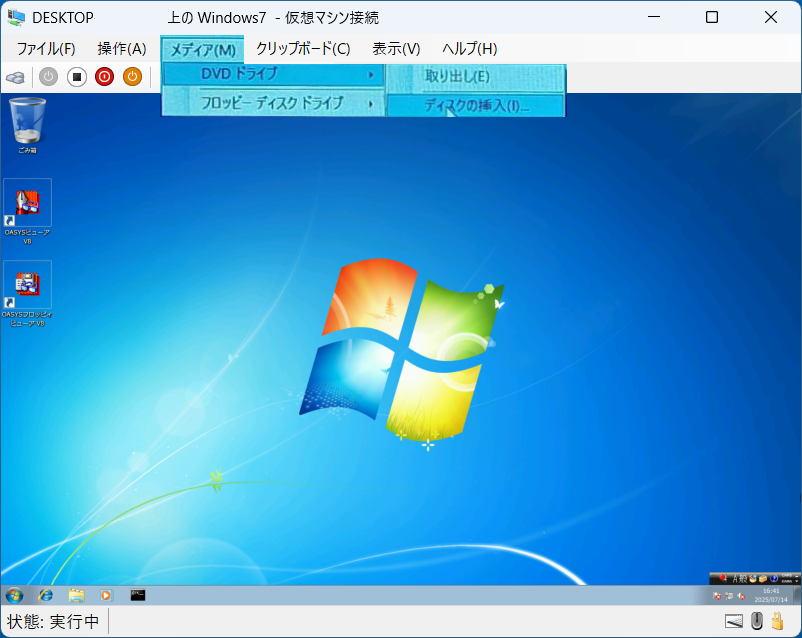
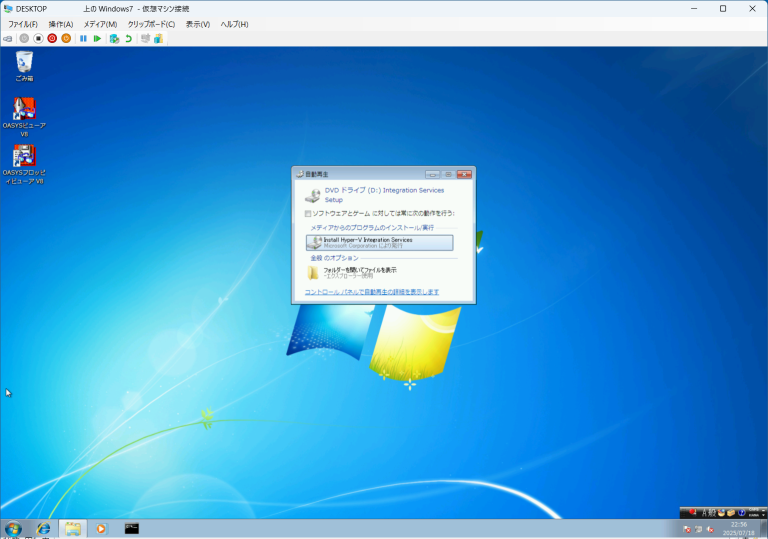
When I installed vmguest.iso, the article said to install it from the “Virtual Machine Connection” Action menu, but in the media menu there was a “DVD Drive” option, from which I could select the ISO file on the external USB hard disk connected to the host OS. At the time, this hard disk was not visible from Windows 7, but that didn’t matter.
Opening the ISO file, an autoplay window will appear as shown below, so install from here.
After the installation completes, reboot the guest OS, Windows 7.
Some trouble activating Windows 7.
Now a Windows 7 virtual machine on Hyper-V. But if I use this machine forever, I have to activate Windows 7 on it. Otherwise I’ll often have problems with it not working……That’s in trouble. I originally chose not to connect in the network configuration on the guest OS, so I was going to use Microsoft phone authentication, but I ran into a problem before that.
I had error code 0xC004F061. I was trying to do it with the Windows 7 key I used on the server a long time ago.
Thinking about the key, I think the Windows 7 I used on the server was an update from Windows XP. Now I don’t have Windows XP anymore. Obviously the Windows 7 installed from the downloaded ISO is clean install. Mm, I’m in trouble.
Open the Windows 7 Registry Editor and change the value of MediaBootInstall in the right pane of HKEY_LOCAL_MACHINE/Software/Microsoft/Windows/CurrentVersion/Setup/OOBE to 0. Close the Registry Editor.
If this value is 0, it will be judged as an upgrade installation.
Run Windows 7 cmd.exe as administrator. Type slmgr /rearm and press the Enter key. Reboot Windows 7.
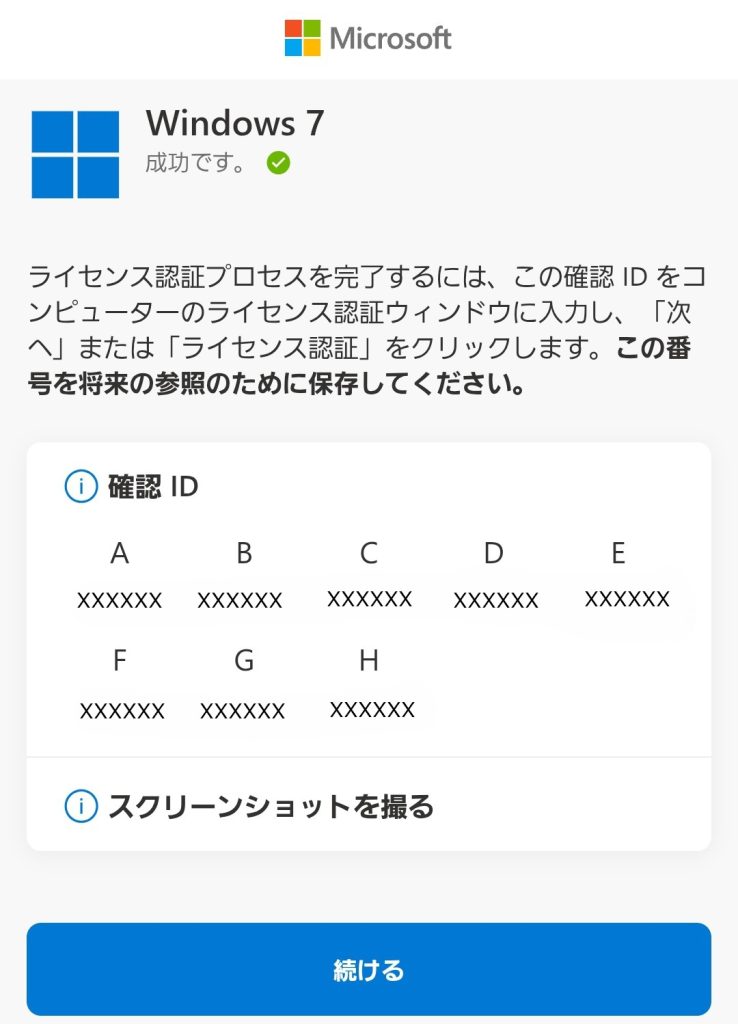
After rebooting, proceed to activation from “Computer” property. I call 0120-801-734 from my smartphone and hear an announcement. I follow the instructions and receive a link via SMS. Connect to the link and enter the displayed confirmation ID into Windows 7, and activation completed successfully. Phew.
I had a cheap laptop from Amazon and had used it to watch streaming programs on the AQUOS TV in my living room. I suddenly decided to upgrade it from Windows 10 PRO 22H2 to Windows 11 PRO 24H2.
Honestly, I had been thinking of throwing it away, and I had it waiting to go to the trash. But I had to delete the data and the battery was swollen, so I kept putting it off. Several days ago, I replaced the battery in my Dell Inspiron 5570. So, I was interested in the Amazon laptop and opened it. As expected I got the battery swollen. I looked for a compatible battery among net stores, and found one. So I decided to upgrade it. If it would work, I thougt to order the battery.
I thought I’d try it out and practice Hyper-V. Actually, I have some old apps that I want to run on Windows 7, so I want to try them out.
This cheap laptop is fine with the TPM 2.0, but the processor (Intel® Celeron® Processor J3160) does not match the requirements, so I can’t upgrade it in normal way. I upgraded using the article “少し変わった!Windows 11 Version 24H2を非互換PCにインストールする方法” as a reference. I downloaded CPU-Z and checked, and fortunately, I found that the laptop CPU supported SSE4.2 instructions.
The upgrade itself, which I performed under the instruction to use setupprep.exe /product server instead of the requirement bypass setup.exe /product server, went well without any problems. However, the battery I ordered didn’t arrive even after the scheduled date. That drove me crazy. The battery arrived, I replaced it, and finally I could move on to the next task.
By the way, my town office took the swollen lithium-ion battery. When I checked quite a while ago, the town office didn’t get it, but this time it was fine. Things changes everyday.
The removed battery. It’s pretty swollen. Because of this, I couldn’t use the touchpad properly.
As PHP7.0.3 was released, I updated to it the day before yesterday. Here is ChangeLog. My server OS is Windows7 HE SP1 x86, so I downloaded php-7.0.3-Win32-VC14-x86.zip.
The new php.ini-production doesn’t have difference from 7.0.2’s except some comments. If you need more information about php.ini configuration, see ‘Migrating from PHP 5.5.16 to PHP 5.6.0 on Windows’.
They released phpMyAdmin 4.5.0.0 on September 23, 4.5.0.1 on September 24 and 4.5.0.2 on September 25. What new releases in sequence! Ha-ha!! Here is the ChangeLogs. The 4.5.0.0 has a tons of improvements by RFE(Request for enhancement) or so. The 4.5.0.1 and 4.5.0.2 are bugfix versions.
One of my friends gave me a dynabook(N510/04BW) whose display was broken. When she went near dropping and grabbed it, its liquid crystal screen was cracked(Fig 1) and its OS gave an error when it was installed an external display and turned on.
sc_serv2_win32_09_09_2014.exe —->> sc_serv2_win32-latest.exe (Ver. 2.4.7)
shoutcast-dsp-2-3-4-windows.exe —->> shoutcast-dsp-2-3-5-windows.exe
Note) To download the files you need a valid email address. Even if you want free version of SHOUTcast DNAS software, to download the files from the official site you need a personal data registration now, like this. (2016.Jun.1)
# OCSP Stapling (requires OpenSSL 0.9.8h or later)
#
# This feature is disabled by default and requires at least
# the two directives SSLUseStapling and SSLStaplingCache.
# Refer to the documentation on OCSP Stapling in the SSL/TLS
# How-To for more information.
#
# Enable stapling for all SSL-enabled servers:
#SSLUseStapling On
# Define a relatively small cache for OCSP Stapling using
# the same mechanism that is used for the SSL session cache
# above. If stapling is used with more than a few certificates,
# the size may need to be increased. (AH01929 will be logged.)
#SSLStaplingCache “shmcb:c:/Apache24/logs/ssl_stapling(32768)”
# Seconds before valid OCSP responses are expired from the cache
#SSLStaplingStandardCacheTimeout 3600
# Seconds before invalid OCSP responses are expired from the cache
#SSLStaplingErrorCacheTimeout 600
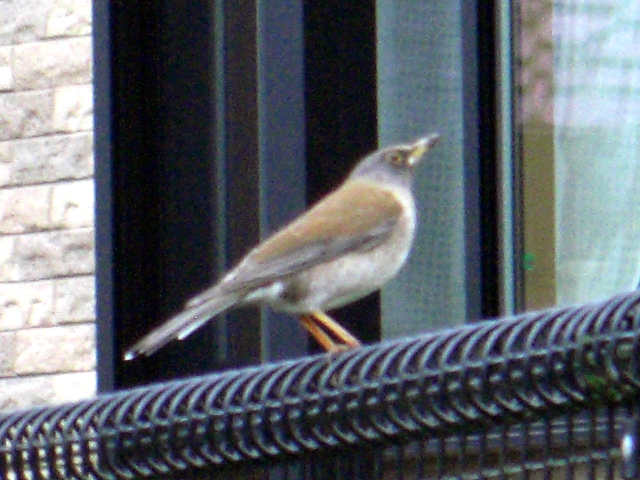
A flock of sparrows Yesterday, I saw a pretty flock of sparrows. Nowadays this is very rare in my town though I often saw flocks of sparrows in the rice fields when I was a child. I think the opportunities to see sparrows are decreased despite they were very popular birds and we have a lot of folktales of them. I took a picture of them. Shrohara???
Today I saw the bird on the left image. I think this is Shirohara. Am I correct?
By the way, I updated some server software on my Web server yesterday (The server OS is Win7 HP SP1 x86).