Continued from my last post.
My Net Radio station runs with the following formation on Windows(x86), so I install Winamp and SHOUTcast Source DSP now.
| Winamp + DSP (Source) | <> | DNAS [sc_serv] (Server) | <> | Something like Players (Client) |
I’d forgotten to write it. DNAS is short for Distributed Network Audio Server and DSP is short for Digital Signal Processing.
| ||How to install Winamp|| | 1. Download | 2. Install | 5. Setting |
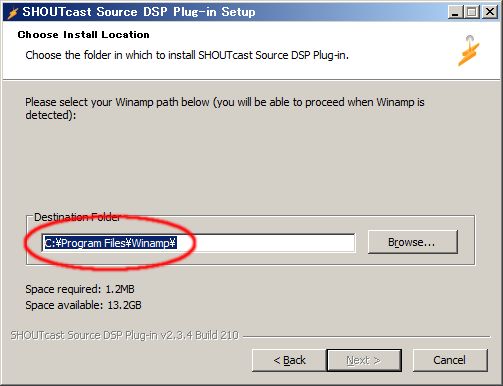
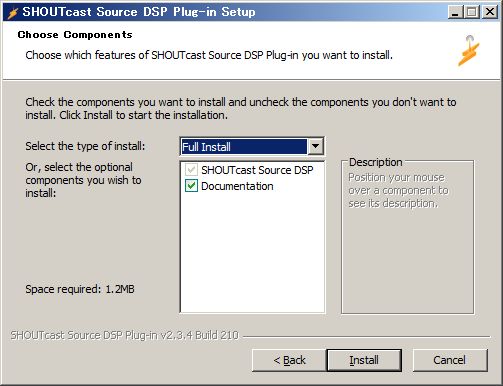
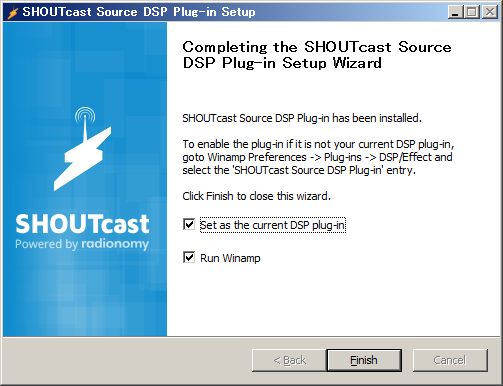
| ||How to install DSP|| | 3. Download | 4. Install | 5. Setting |
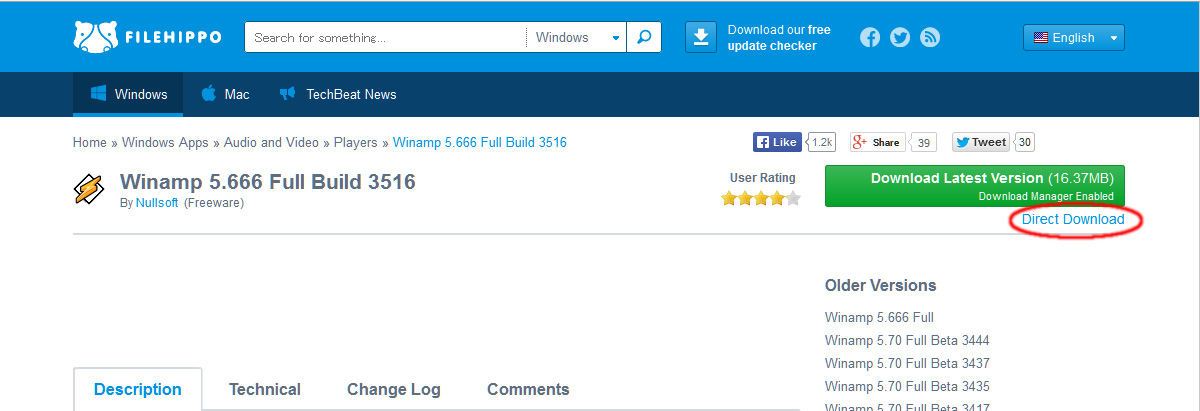
Download the latest version of Winamp. Don’t click ‘Download latest version’ but ‘Direct Download’.
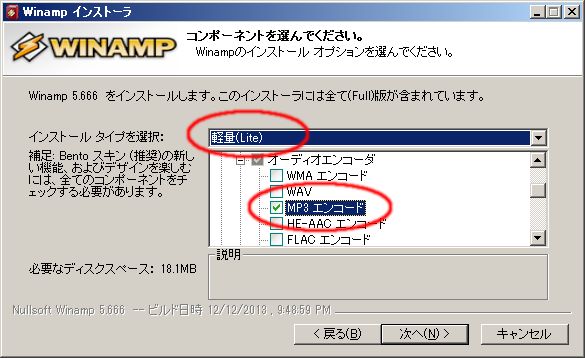
Select the install type ‘Lite’ because of this Winamp used for SHOTcast source only and check ‘MP3 encoding’ which exists at Audio Encoders in Multimedia Engine (See fig. Winamp install#5). You can select the language for Winamp at this step if you need.
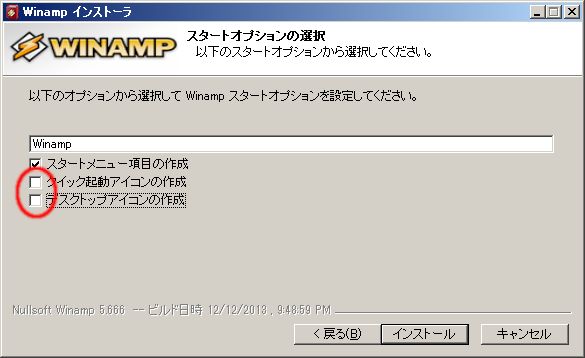
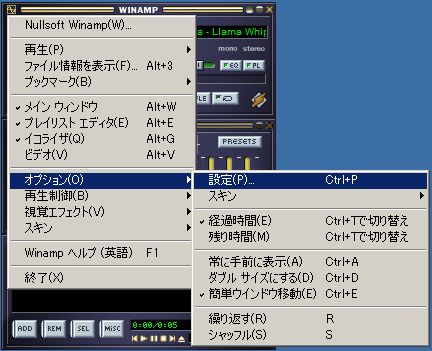
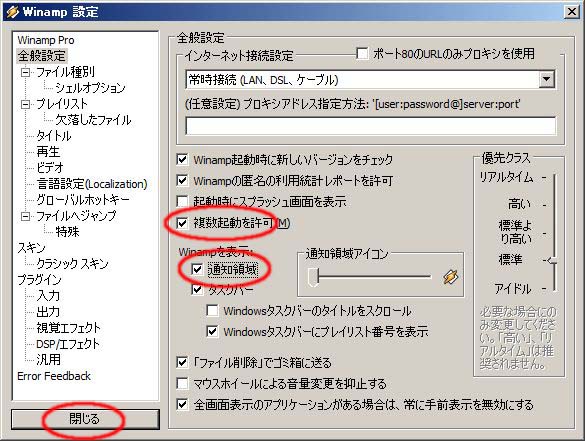
At Winamp install#6 I uncheck two options but it’s OK if you leave the default.
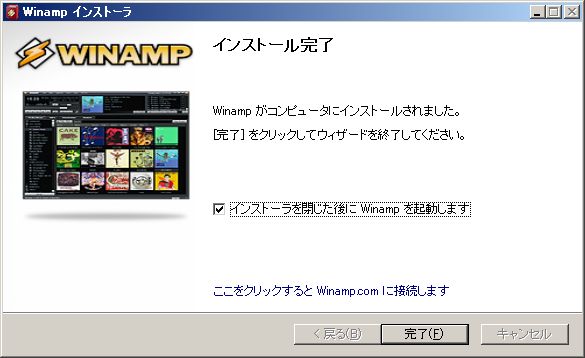
After Winamp install#8 Winamp runs. Close it.
‘Control Panel’ >> ‘Administrative Tools’ >> ‘Windows Firewall with Advanced Security’
Select ‘Inbound Rules’.
You see two rules about Winamp that has a private profile. One is for UDP and another is for TCP. I think they’re not necessary for SHOTcast source features so I delete them (See fig. Winamp install#9).
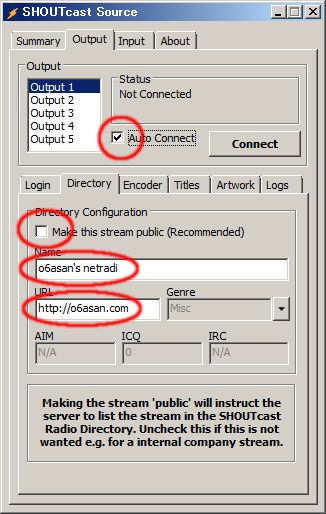
About SHOUTcast Source, set the password (= password in your sc_serv.conf) (See fig. DSP setting#3). Uncheck ‘Make this stream public’ because the current server is a private one. Change ‘Name’ and ‘URL’ to your own. Then check ‘Auto Connect’ or click ‘Connect’.
Now the preparation for the broadcast is completed. You make the Winamp play an audio, and the broadcasting will start.
If you want to use the radio within your LAN only, you can already do it. But if you want to give your service to someone on the Internet and use a router or something, you’ll need to set them up. About it see your router manual or ask your network admin.
The next post I will write how to use the SHOUTcast radio.
I thought I'd done it, but actualy I hadn't. I talk about what.It was "Removing…
The laptop mentioned previous article successfully became 24H2. The touchpad was risen because the battery…
I had a cheap laptop from Amazon and had used it to watch streaming programs…
The recipe for sweet potato yōkan that I often made this fall. Ingredients Sweet potato…
After a long time, when I checked broken links and fixed them, I got an…
I made a box, so I prepare the contents. Theme and Plugins. The theme is…
This website uses cookies.